With the x2yMorph app you can make a series of images that begins with one that you have selected from your photos library and gradually morphs into a second image that you have also selected from your photos library. To make this transformation as smooth and realistic as possible, you define corresponding points on the two original images (for example, on eyes, nose and lips of face images). After you have defined a few such points on each of the two original images, x2yMorph calculates an intermediate image at any stage that you select using a slider, interactively. You can also view your morph as a "movie loop" and save it as a series of still images and a short movie clip in your photos library.
Note: If you are using Apple's latest iOS software on your device, when x2yMorph first tries to access images in your photos library, you will be asked to go to Settings > Privacy > Photos, where you will need to switch the setting for x2yMorph to "ON" to allow x2yMorph to access your images as described above.
You create a new morph by first using the "New A" and "New B" buttons to select and zoom two images from your photo library. You then use the "Edit" button to identify points on the two images that should track each other. After you have defined a few such points, you can use "View" to interactively view, and "Save" to save your morph.
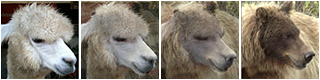
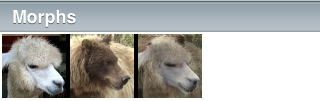
Tapping on the "Morphs" button brings up a table that lists all of the morphs generated by x2yMorph that are currently stored on this device. The morphs are listed in newest first order. In each row of the table, a morph is represented as an icon consisting of three miniature images that depict, in left-to-right order:
Here is an example of the Morphs table format (with just one row shown here):
Simply touch the desired table row to select whatever morph you would like to interactively view, as described below. Note that before making a selection from this table, it is possible to delete any no longer desired morph by swiping across that morph's row and tapping the resultant red "Delete" button that appears on that row. (This deletion is permanent except in the case of the sample morphs that are included with x2yMorph. The sample morphs are automatically restored whenever x2yMorph is restarted after it has been closed.) Also note that if you decide that you don't really want to select any of the morphs in the table at this time, you can tap on the white "Cancel" button at the bottom of the table to return to the x2yMorph screen as it was prior to your tapping the "Morphs" button.
When you have selected a morph from the table, three images and a slider will normally appear on the main portion (the "imaging section") of the x2yMorph screen, as shown here:
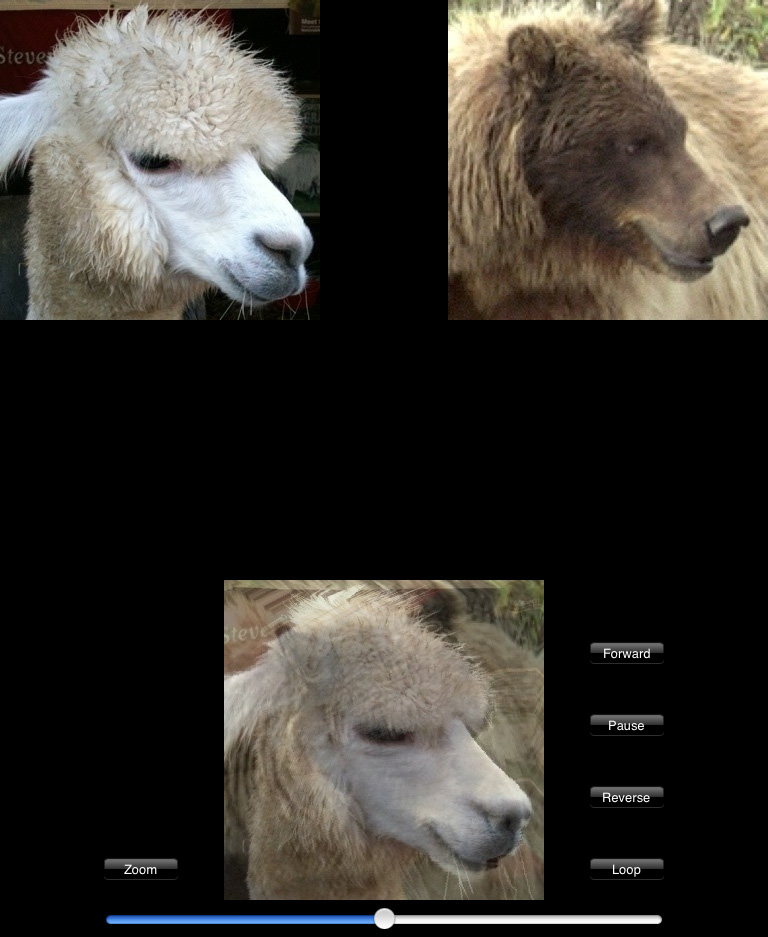
Whenever this three image display format is on the x2yMorph screen:
An alternative image format is displayed if you had previously chosen to display in a "zoomed" format. In the "zoomed" format, only the calculated (morphed) image is displayed, and it is displayed at an enlarged size (covering much of the iPad screen), as shown here:
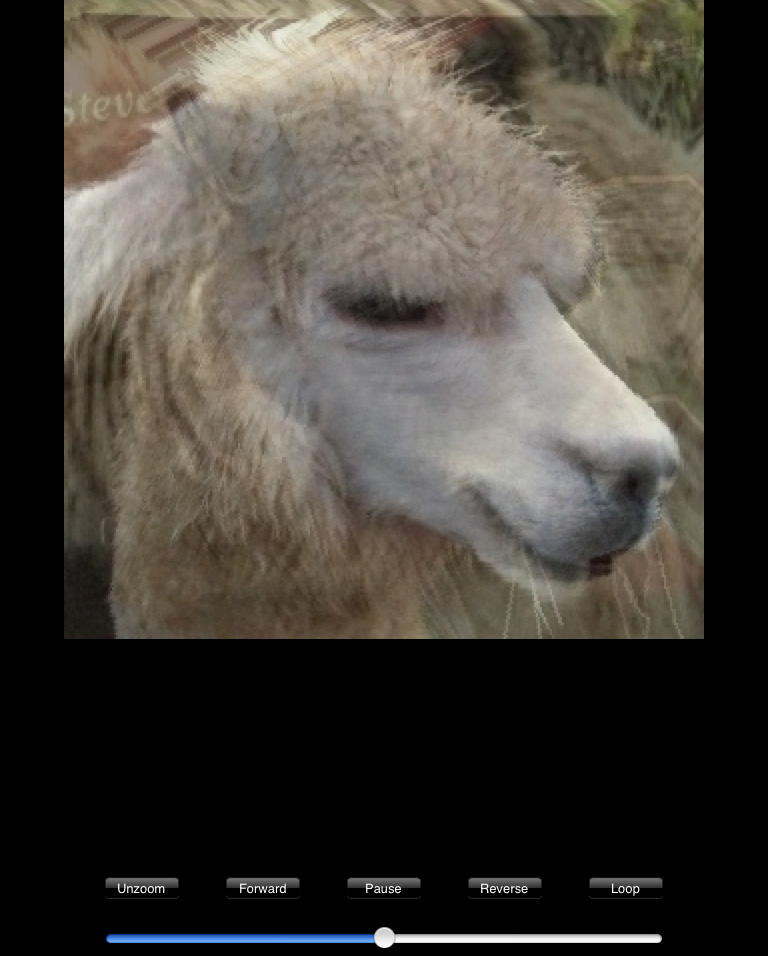
You can use the "Forward," "Pause," "Reverse," and "Loop" buttons to start and stop a "movie" sequence that shows a gradual progression of the morphed images. (The "Loop" mode does a back-and-forth sequence between the "A" and "B" images.) When the display is paused, you can switch between the unzoomed and zoomed viewing formats by using the "Zoom" and "Unzoom" buttons.
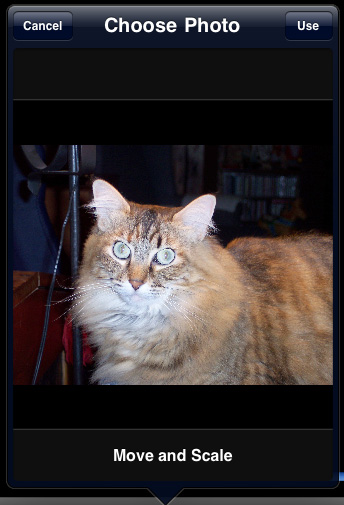
Tapping on the "New A" button brings up a "Photo Albums" dialog that lists the Photo Albums that are currently on your device. Pick the desired album to see thumbnail images of all the images in that album. Tap on the desired thumbnail to select it. This will display the selected image within a square "Move and Scale" frame as shown here:
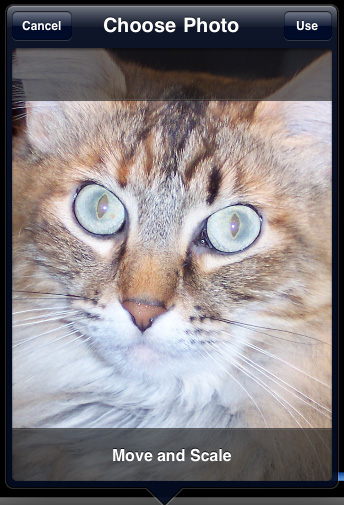
For most ordinary (rectangular, landscape) images, you will then need to zoom the image by using the standard zoom gesture (spreading two fingers) to get just a desired portion of the image (for example, a face) to completely fill the square frame as shown here:
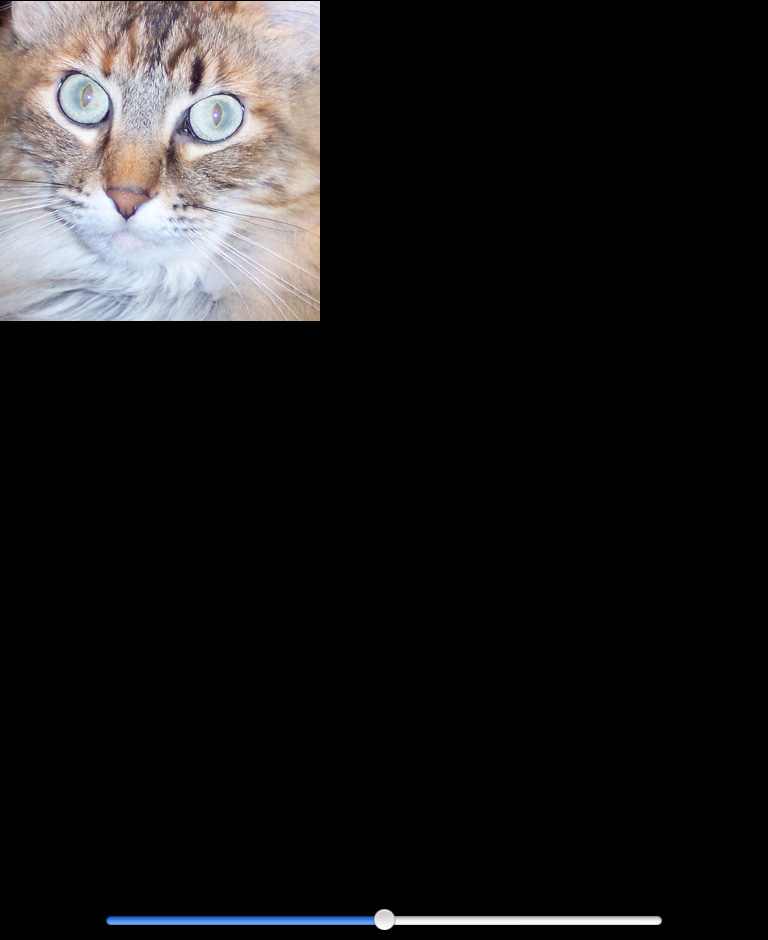
After zooming the image, tap on the "Use" button to complete the selection. The selected image portion should then appear in the upper left corner of the imaging section of the screen as shown here:
A selected image that is already square can be used "as is" (without zooming) if the image consists of just a single image that you want to use for the "A" image of your morph. In this case, simply tap on the "Use" button to complete the selection, and the selected image should appear in the upper left corner of the imaging section of the screen.
If, on the other hand, your selected image is a special x2yMorph-saved multi-format 640x640 square "hybrid" image as illustrated below, tapping on the "Use" button will cause the upper left portion of the selected image to appear as the "A" image in the upper left corner of the screen and the upper right portion of the selected image to appear as the "B" image in the upper right corner of the screen.
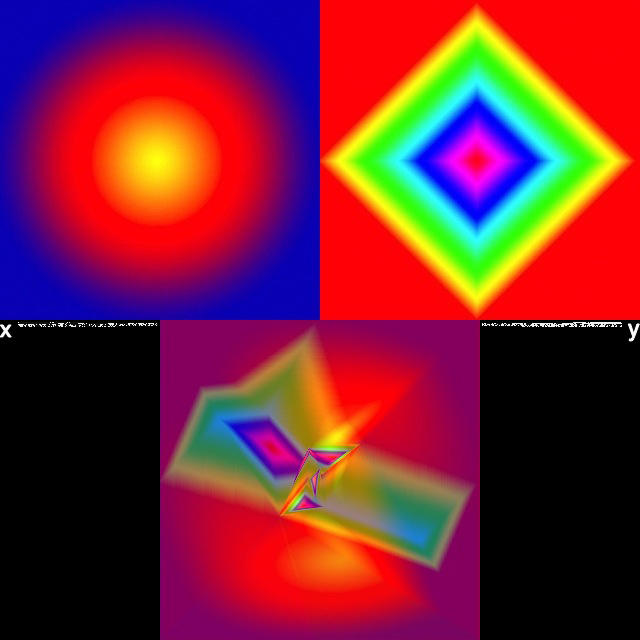
Furthermore, since this special "hybrid" image format includes all the geometrical data of the morph, selecting this type of image will fully reconstitute the morph, in much the same way as selecting a morph from the table as described under "Morphs" above.
Similarly, tapping on the "New B" button brings up a "Photo Albums" dialog that lists the Photo Albums that are currently on your device. Pick the desired album to see thumbnail images of all the images in that album, tap on the desired thumbnail to select it, zoom, and tap on "Use" as described above. The selected image portion should then appear in the upper right corner of the imaging section of the screen.
"New B," like "New A," also allows an image that is already square (including "hybrid" images) to be used "as is" (without zooming).
Before any morphed image can be calculated, displayed and saved by x2yMorph, at least two (preferably more) "control points" must be defined on both the A and B images. The control points are corresponding points that you choose on the "A" and "B" images, such as the centers of eyes, points on lips, boundary points of face or hair, etc. If you have selected an existing morph (for example, by using the "Morphs" button), that morph already has control points defined, and x2yMorph will automatically display a morphed image above the slider control, as in the example in the "Morphs" section above. If, on the other hand, you are creating a new morph from a new combination of images that you have selected using the "New A" and "New B" buttons, you will need to create new control points by using the "Edit" button."
Tapping on the "Edit" button brings up several buttons that allow you to review any already-defined control points, or add new control points. A prompt at the top of the screen briefly summarizes what you can do.
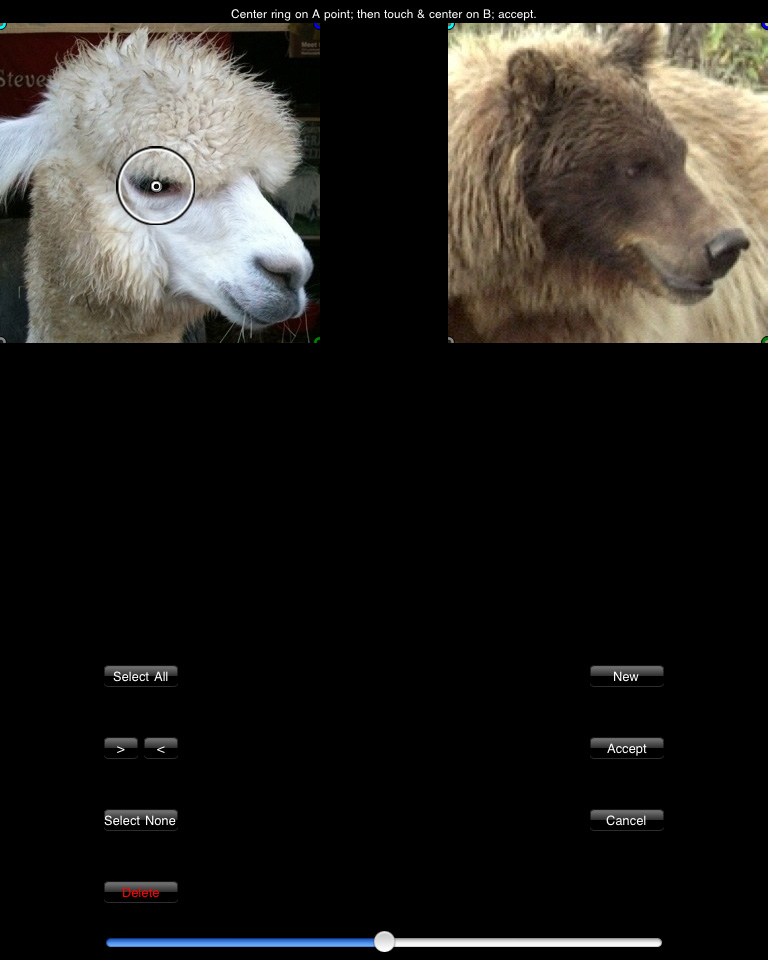
To define a new control point, a positioning ring is used. This ring appears automatically over the "A" image when the "New" button is tapped. Position the ring by dragging its bottom until the small circle at its center encloses the desired point of interest on the "A" image as shown below.
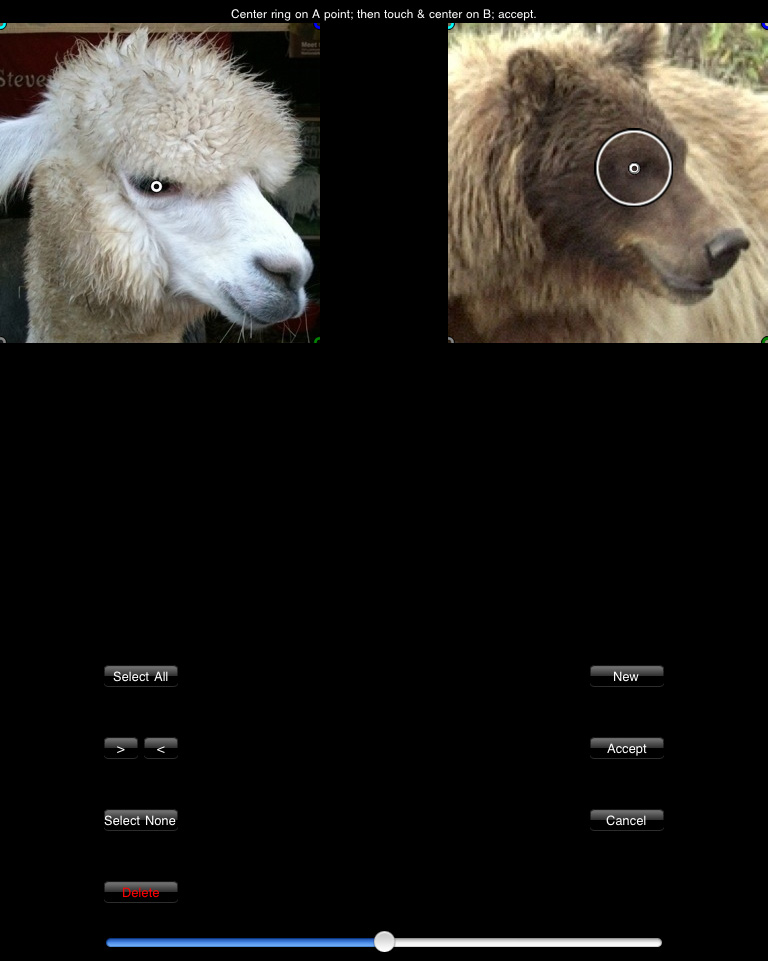
Next, touch the "B" image. The ring will automatically move to the "B" image. Position the ring by dragging its bottom until the small circle at its center encloses the corresponding point on the "B" image as shown below.
If you are satisfied with the points you have just placed on the "A" and "B" images, then tap the "Accept" button, and the new data will be incorporated into the set of all the control points data for the morph. (Or, if you wish to, you can first go back to the "A" or "B" image and reposition the ring on either or both images.) Once you have defined and accepted two control points on both the "A" and "B" images in this way, a morphed image will appear in the lower part of the imaging section of the screen. This lower image shows the effects of all the control points defined thus far. To create a high quality morph, you may need to define at least 10-20 control points (i.e., 10-20 point pairs).
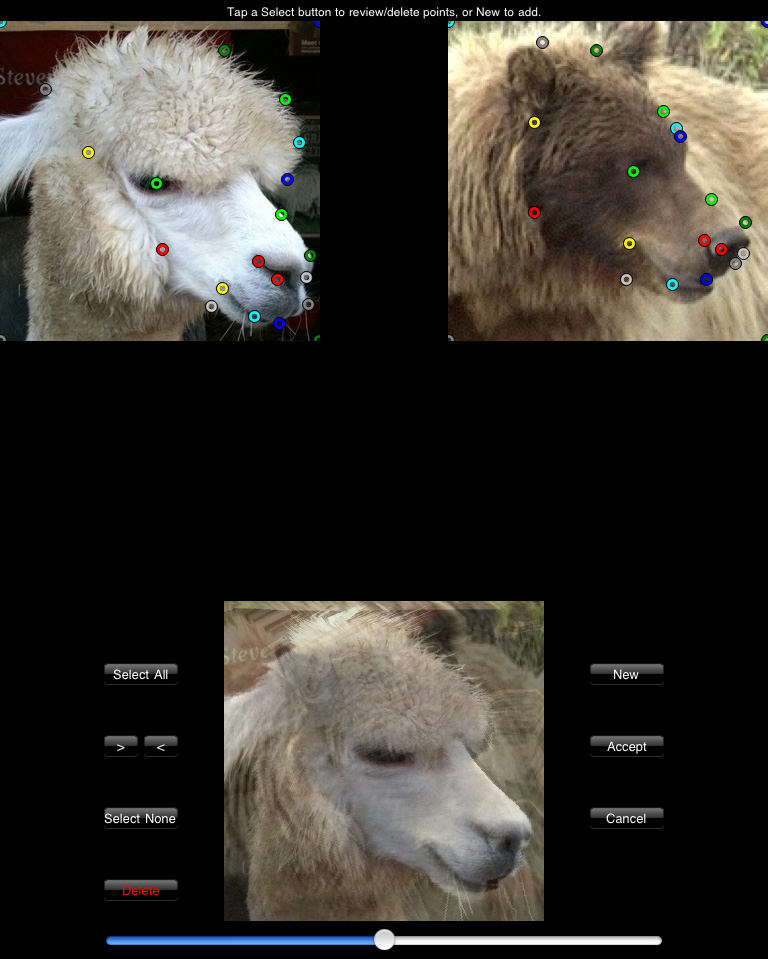
To review, at any time, where any or all of the control points are on both the "A" and "B" images, the point selection buttons on the left side of the imaging section can be used. Small, circular colored markers are used to indicate where the control points are on the images. To see all the control points at once, tap "Select All." This will give a result such as the following:
To hide all of the control points, tap "Select None." Following "Select None" or "Select All," the control points can be viewed one at a time in the order in which they were defined (oldest first) by tapping the ">" button, or in reverse order (newest first) by tapping the "<" button. To delete the currently displayed control point(s), tap the "Delete" button. (Note, however, that there are always four control points placed by x2yMorph at the four corners of each image. These are not deletable.)
Tapping on the "View" button removes any editing buttons that may be on the screen and displays new buttons to allow interactive viewing as described in the "Morphs" section above. Note that if you have not yet defined any images, the imaging section of the screen will be entirely black. If you already have defined "A" and "B" images, and there are at least two control points on them, tapping on "View" will bring up a display that includes the "A" image (upper left), the "B" image (upper right) and, below them, the morphed image. In addition to the slider for controlling the morph interactively, there are "Forward," "Pause," "Reverse" and "Loop" buttons, along with a button for zooming or unzooming the morphed image, as illustrated in the "Morphs" section above.
Whenever you have an interactively viewable morph (i.e., whenever there is a morphed image above the slider that changes in response to the slider), tapping on the "Save" button will initiate a relatively lengthy process (indicated by a spinning activity indicator on the left side of the screen) that does the following:
Tapping on the "?" button provides help by bringing up this tutorial, without disrupting what you were doing. To return to what you were doing, simply tap on the "?" button again. Or, if you wish, tap any of the other buttons to go directly to the function of that button, as described above.